Here are the news in version 1.76.0
Would you like to find out more about TAG Application and have more information?

Settings – Typologies and Data
Do you have articles that have various characteristics in common? Would it be convenient to attribute a specific type? Maybe even associating personalized data that enrich the master data?
Thanks to the new update of TAG Application all this will be possible: typing and managing the items will become even faster and more intuitive!
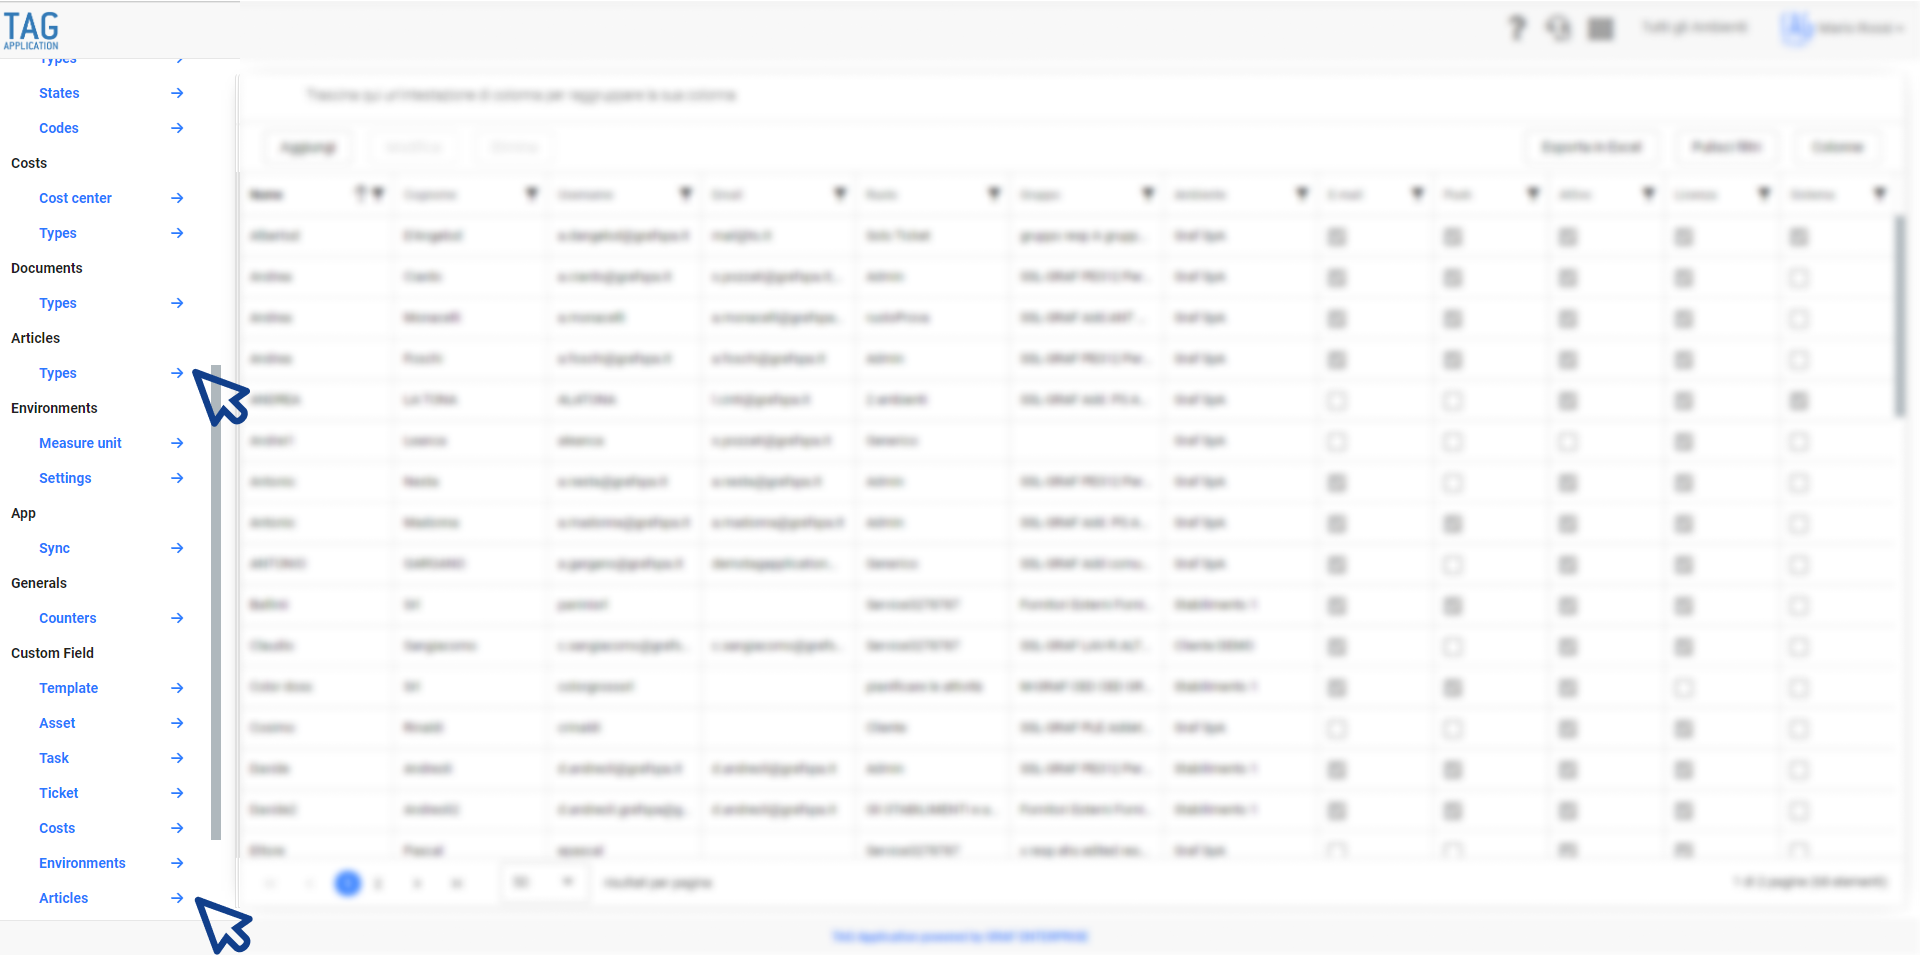
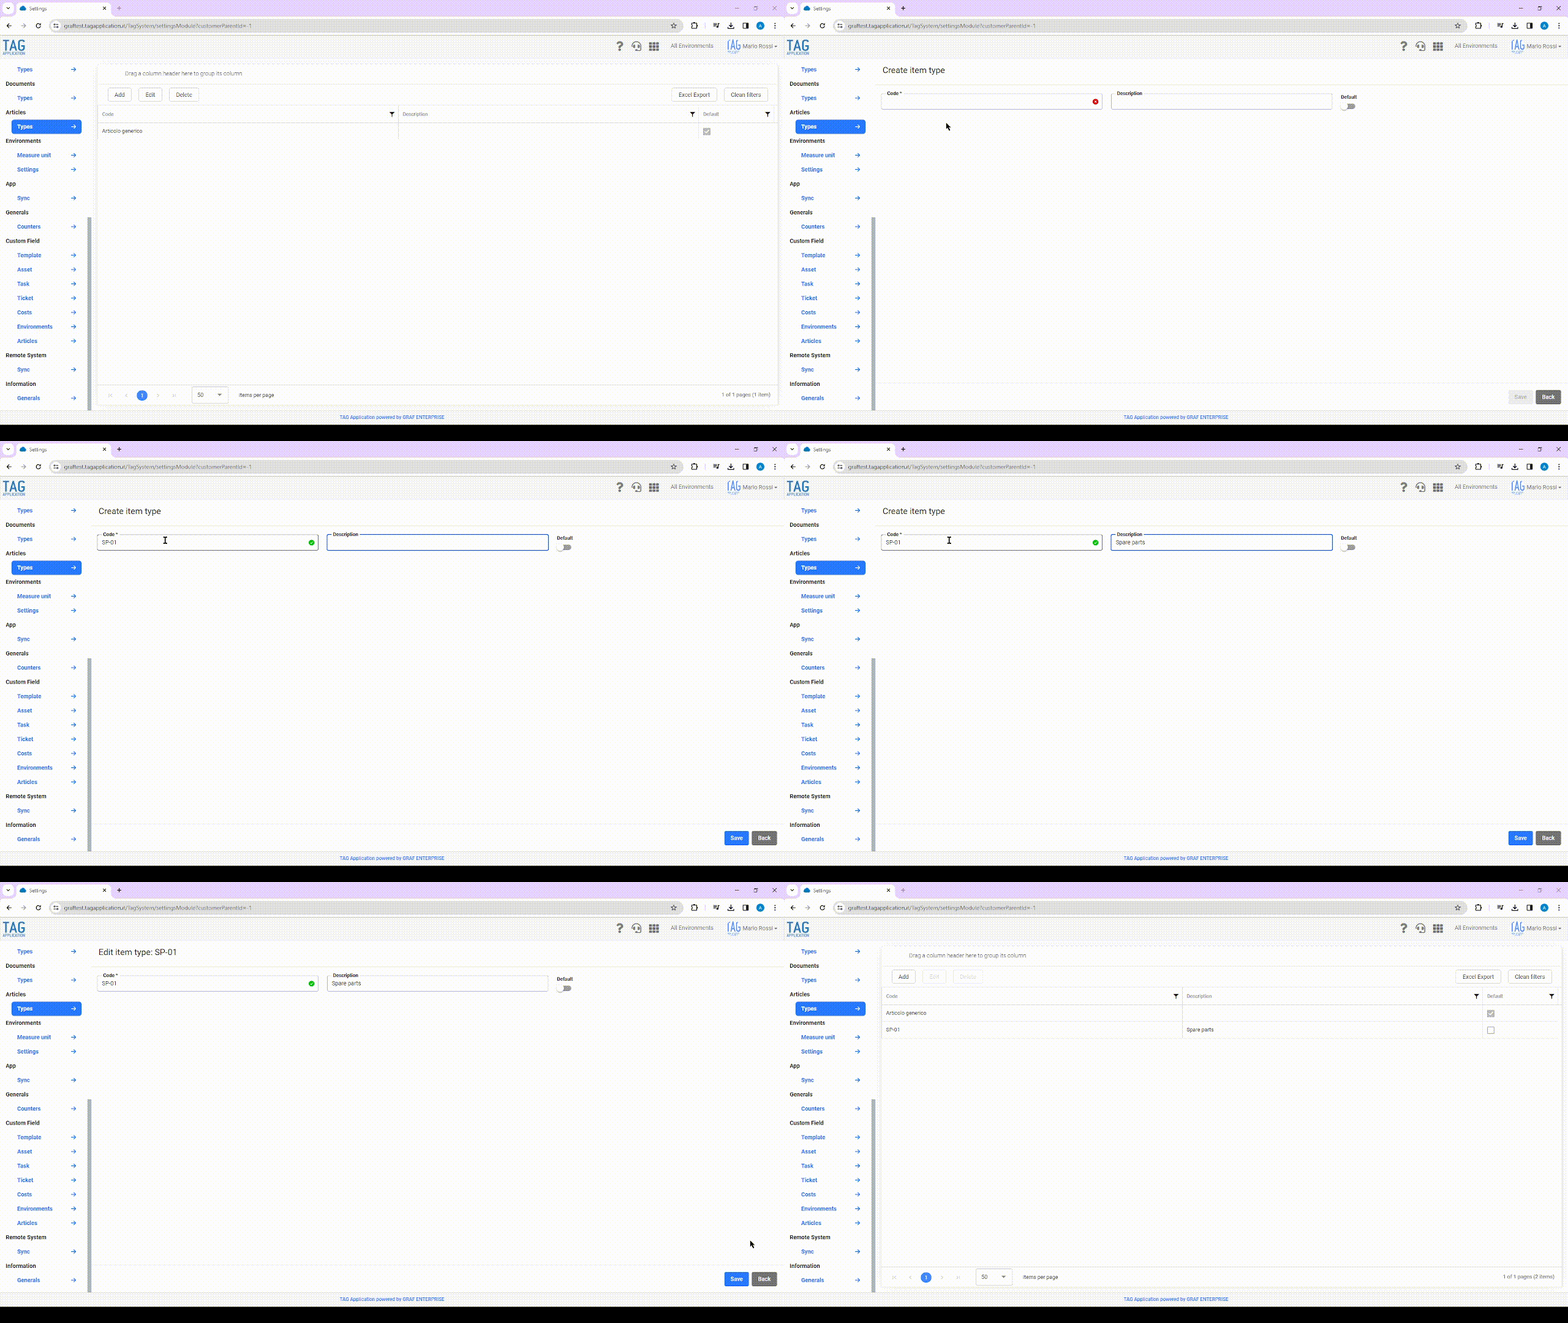
By accessing the Settings module, under the heading “Articles-Types”, you will see the section dedicated to the types of articles. From here you can create, modify and delete all types of items in the system. (fig 1.0)
The types created by the dedicated section (complete with “Code*”, “Description” and any “Default” flag active) will appear as selectable in the appropriate drop-down menu “Type” placed within the registry of each article.
The articles created before the update will be typed initially with the default type “Generic article” created automatically by the system. (fig 1.1)
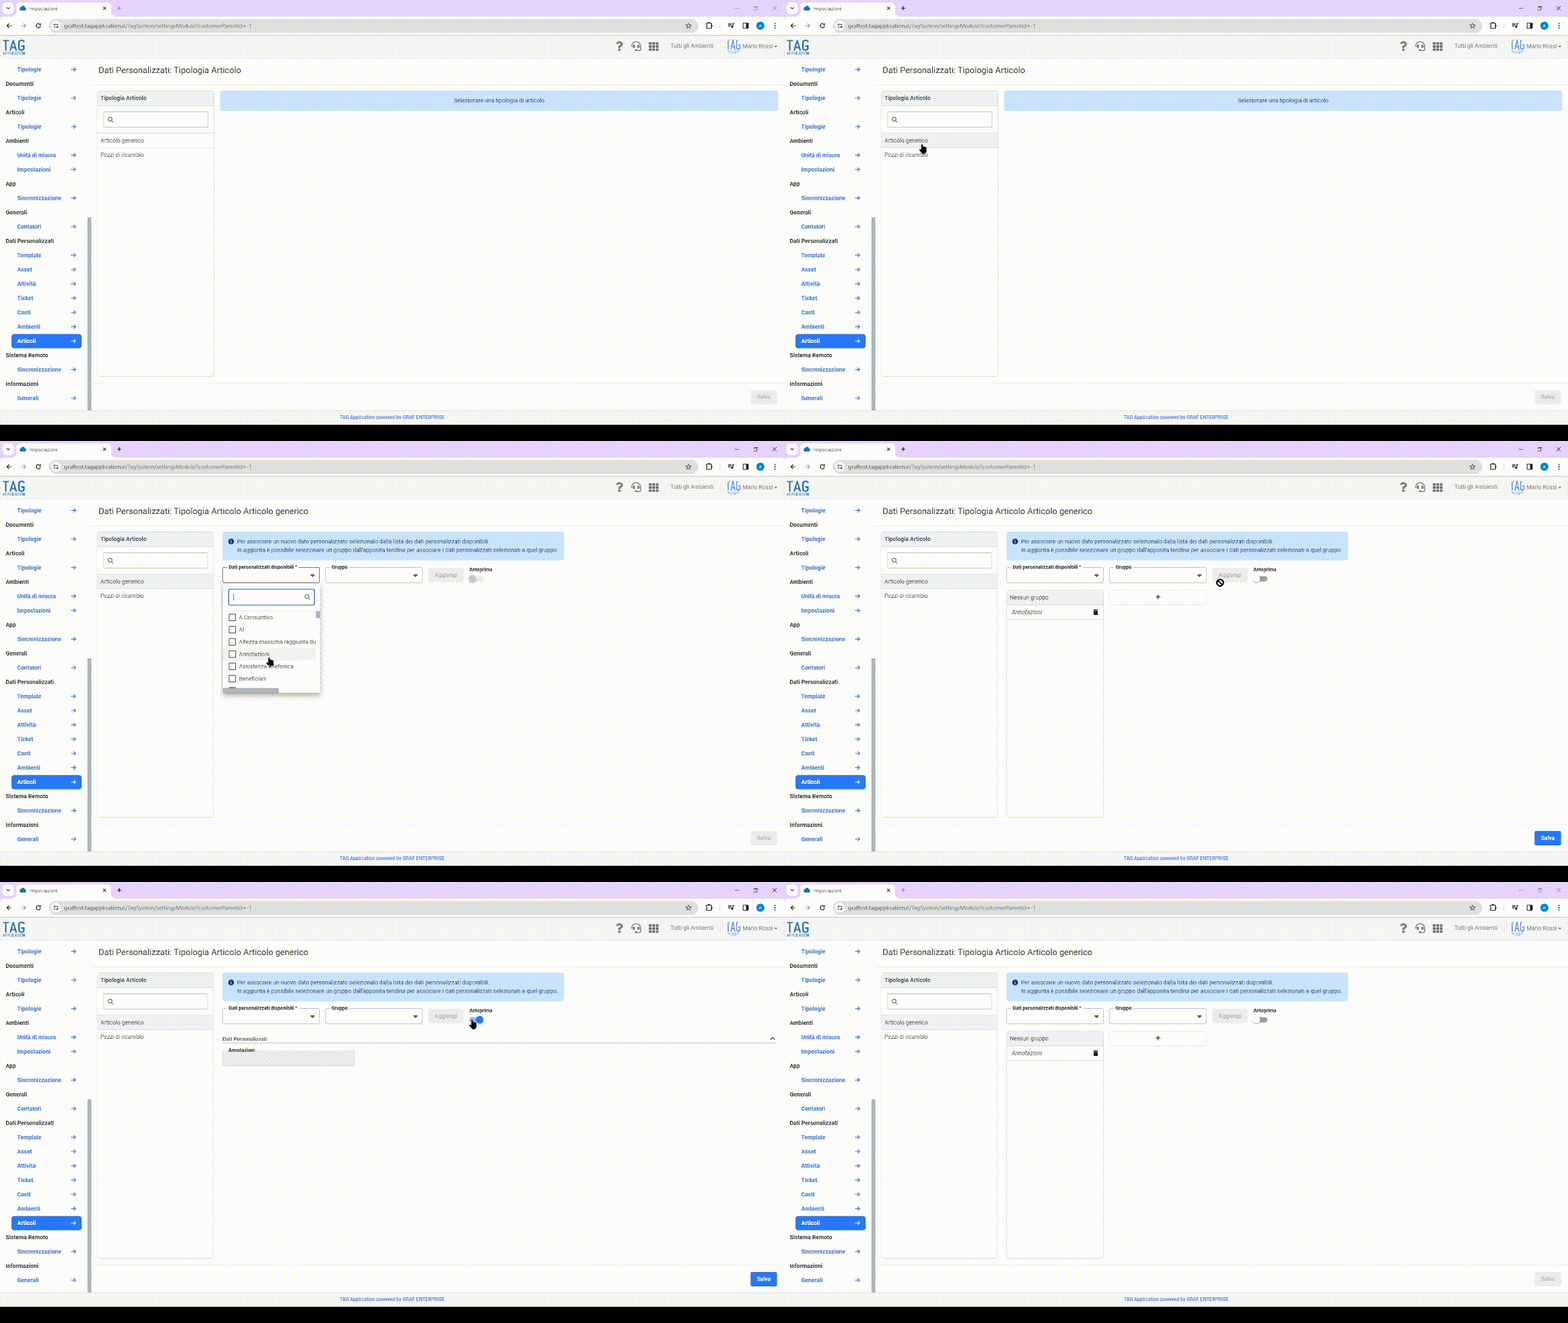
Once you have defined the various types of article, by accessing the section “Custom Data-Articles” always from the Settings module, you can associate specific data customized for each type created.
This feature, useful to enrich the personal data of each type, takes on even more value thanks to the grouping of personalized data.
Just below the fields that allow you to associate custom data and preview them, in fact, the user will be able to create and manage groups of custom data: through the convenient “Containers” renameable and draggable with the function of “drag&drop”In fact, it will be possible to accumulate different personalized data in order to obtain a further enhanced and personalized management. (fig 1.2)

Items – Cover photos and Documents
Articles often have complex codes, maybe little speaking and are difficult to identify “on the fly”… no problem, also this time TAG Application has the solution!
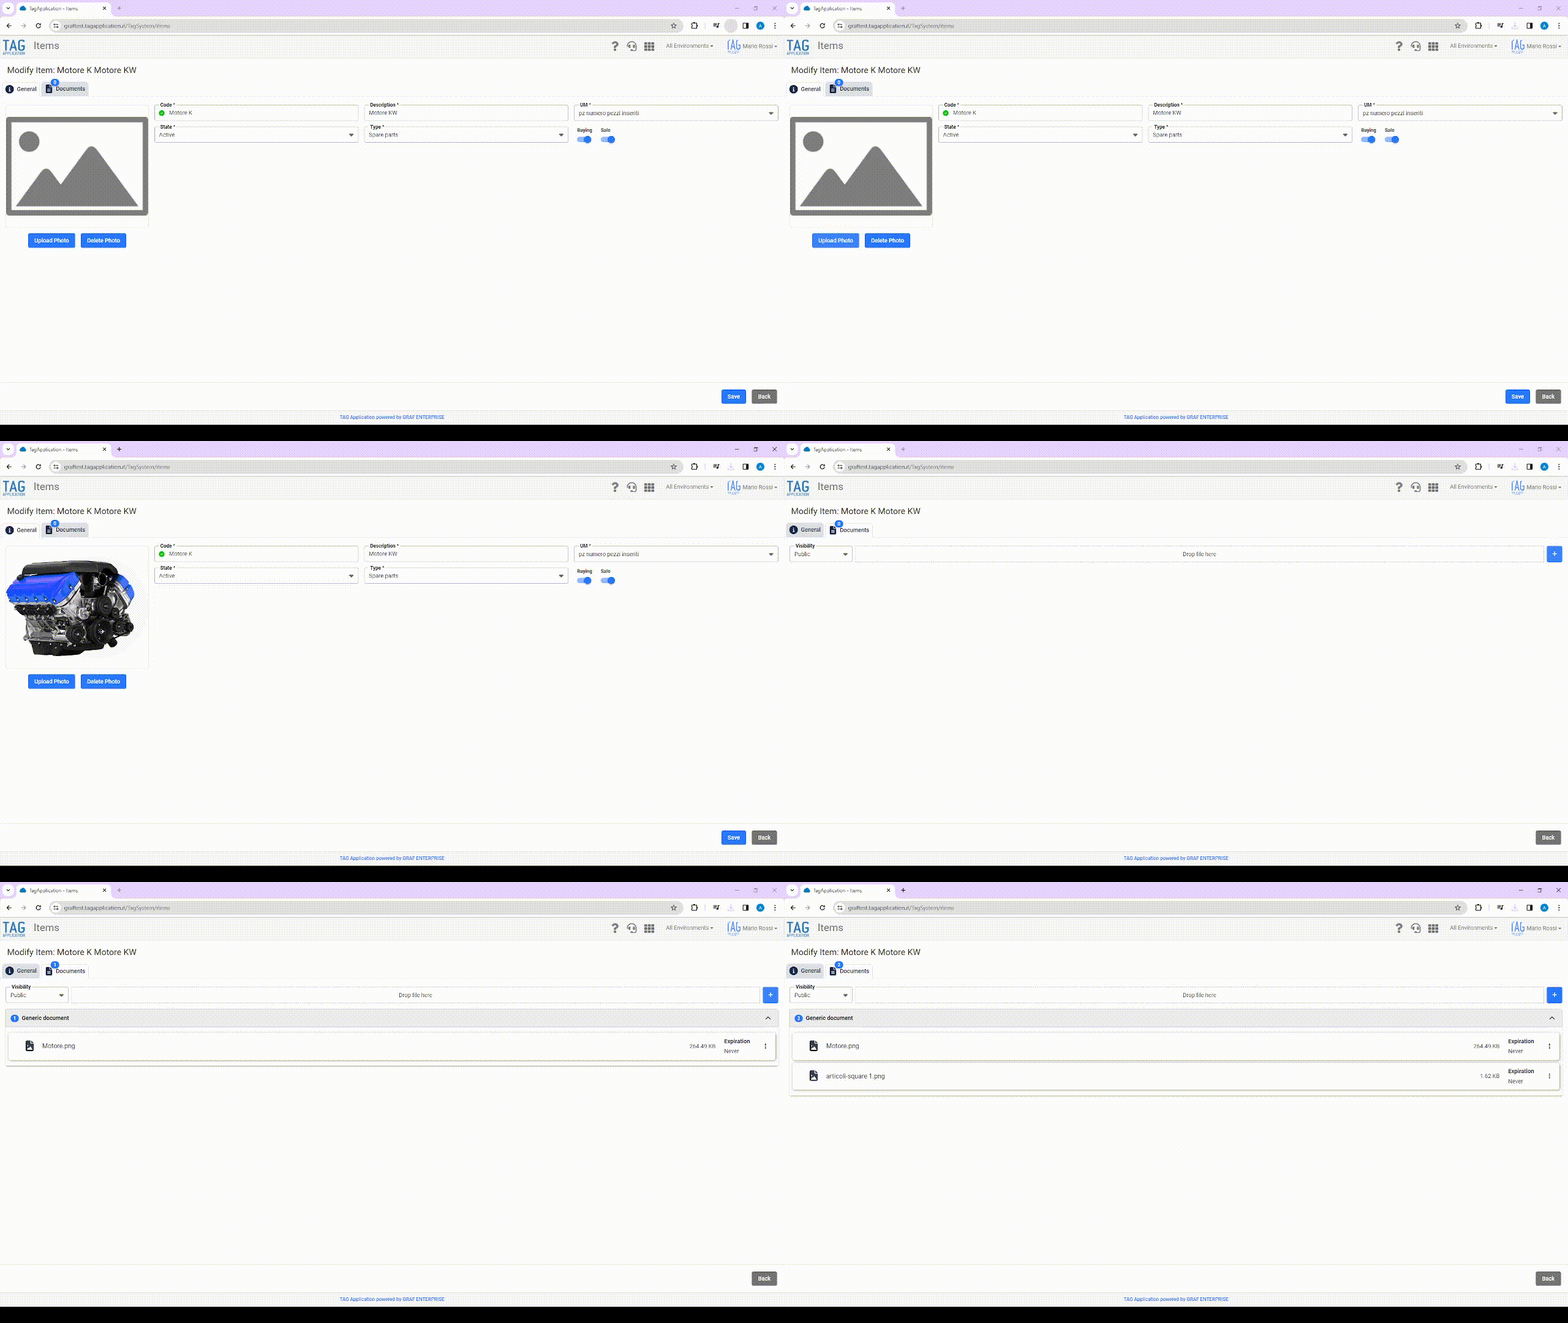
In addition to typing, with the new update is coming another important news for the articles: from now any article can have a dedicated cover photo and you can attach any type of document through the dedicated tab.
Once you get into the details of a specific article, in fact, through a special button “Upload photos”, it will be very easy to upload and quickly view the cover photo inserted of each article of the system.
(fig 2.0)

Costs – Mandatory description
Do you ever enter a cost forgetting to enrich it with a specific description?
It is normal! In the daily frenzy it happens that the rush plays tricks and that, when you go to consult a specific cost, maybe even after a long time, you notice the forgetfulness and you can not remember what was done that day.
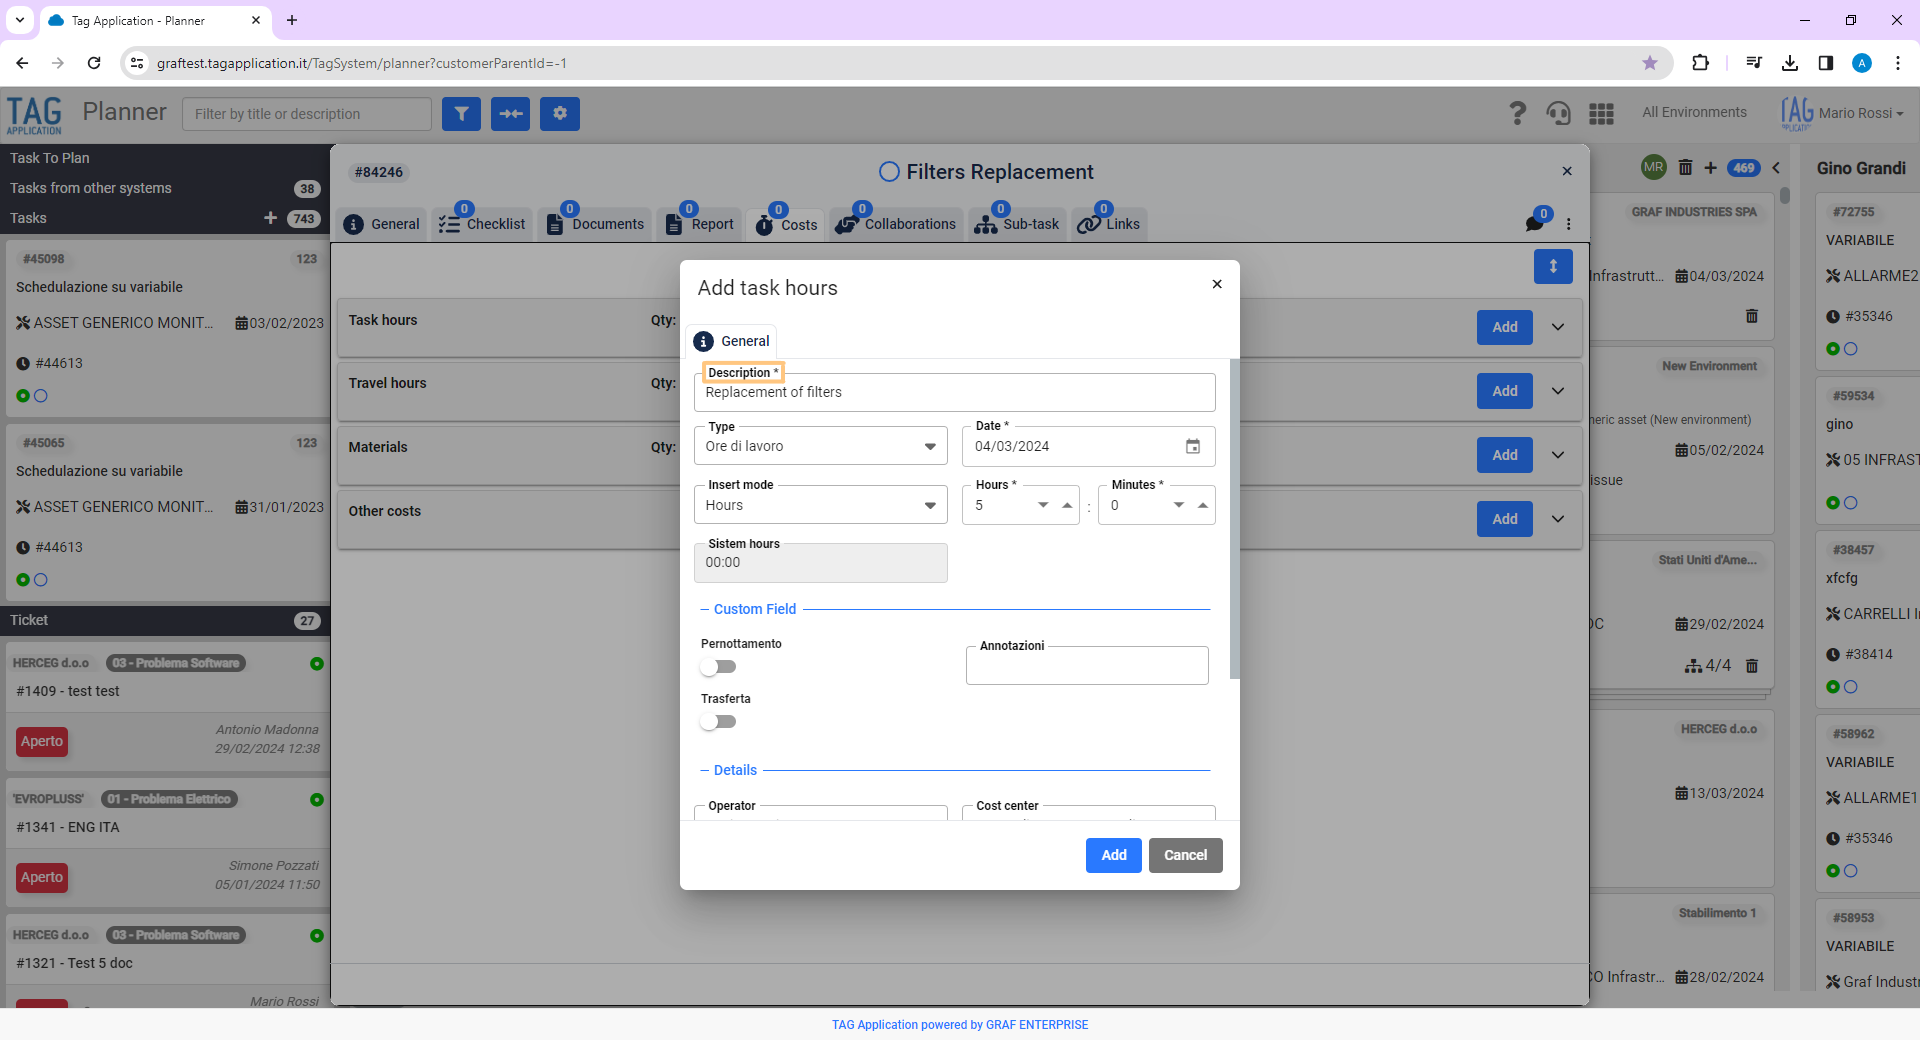
With the new update is the system that reminds you of forgetfulness! At any cost, in fact, the description will always be mandatory… it will then become impossible to create a cost without having enriched it appropriately.
(fig 3.0)
Cost centers – Decommissioning cost center
Years go by and cost centers change… This means that we often find ourselves with dozens of unused codes that can mislead users when entering costs.
Starting with the new version, avoiding this type of case will be much easier!
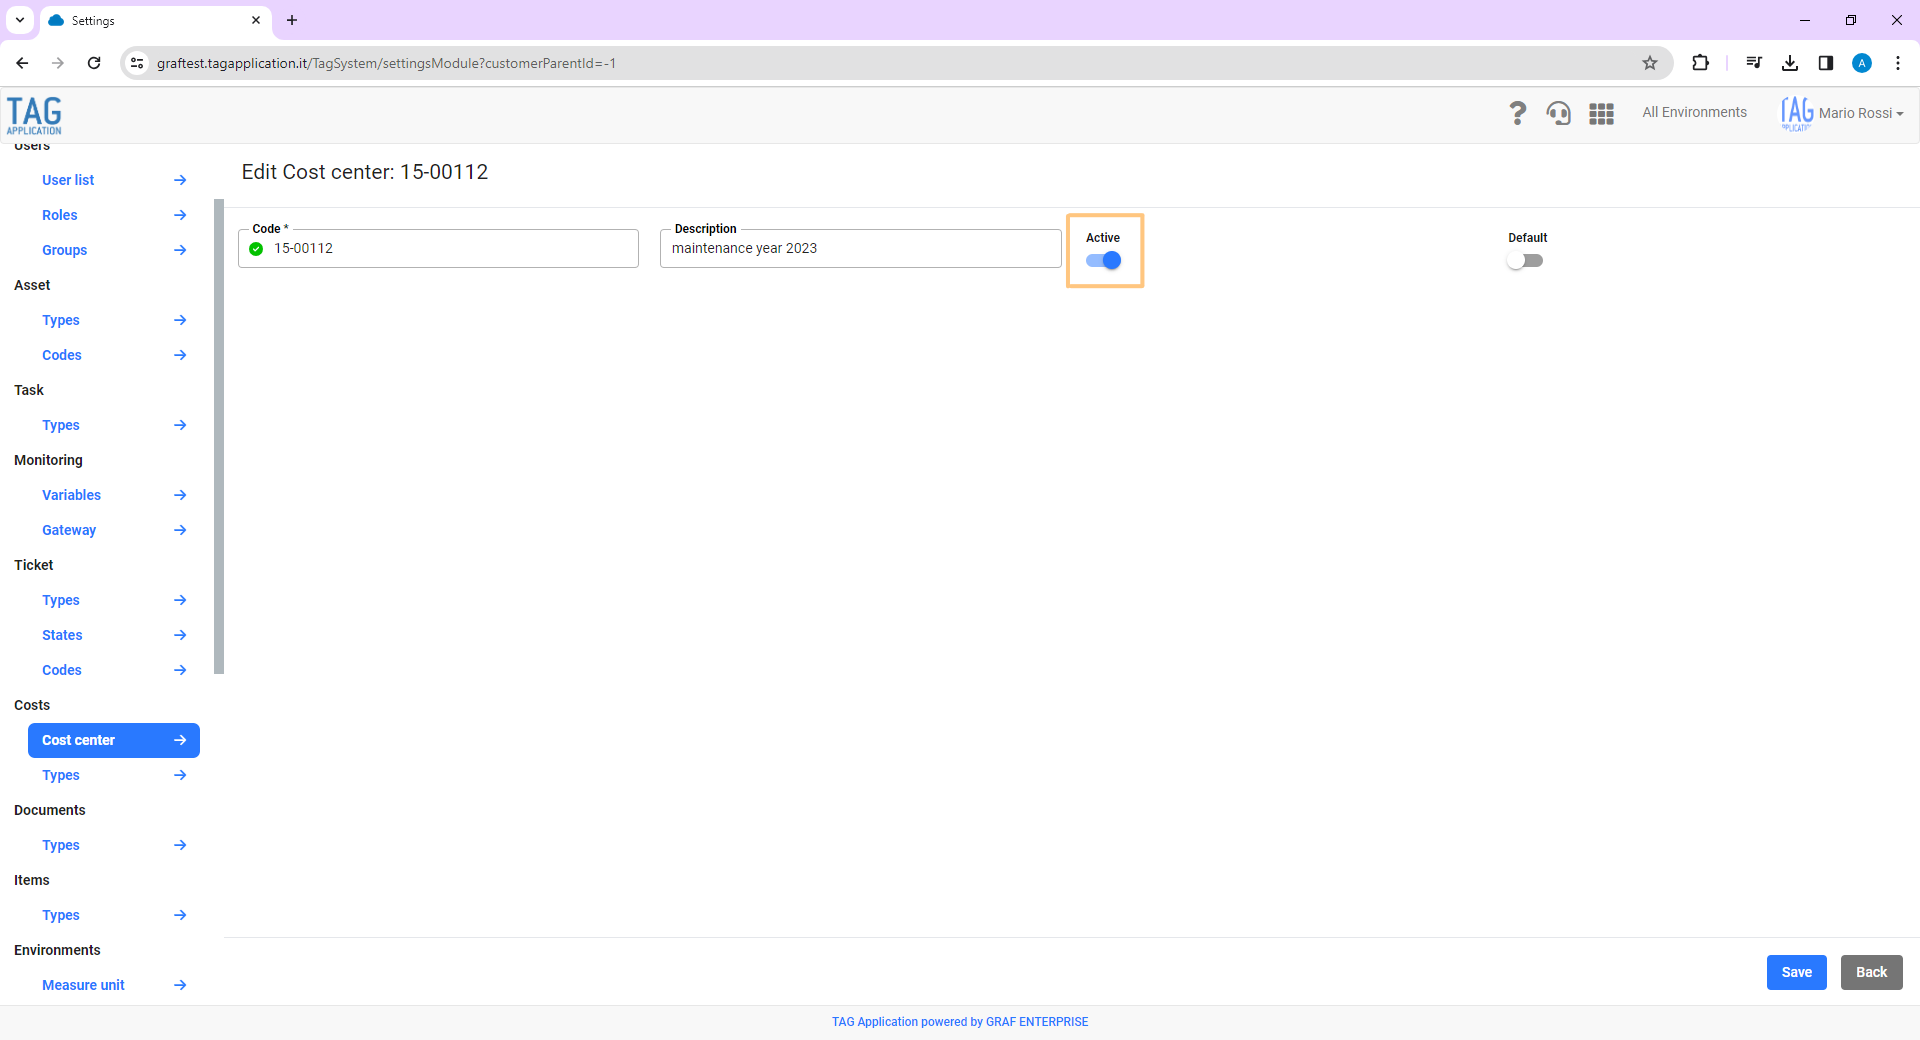
From the module of the Settings, in fact, section “Costs – Cost centers”, it will finally be possible to specify whether a cost center is active or not.
Going into the detail of a specific center of cost, if the appropriate selector “active” is turned on then this center of cost will come regularly shown as selectable in all the entities, otherwise the last one will come hidden rendering so the selection of it impossible.
For the entities that before the deactivation of a specific cost center had the latter as set will not change anything, the deactivating cost center will remain visible as historical and will disappear only during the modification (then any amnesty) of these specific entities.
(fig 4.0)

Notifications – New email notification for expired and expiring tasks
For managers to have a simple, but at the same time clear and exhaustive report of the expired and expiring personal activities and their working group is essential… If this is what you need, TAG Application is the perfect tool for you!
The daily system, precisely every morning at 6 am, automatically sends a report of all the activities expiring and expired by email.
This daily notification, in order to better meet the needs of users, has been revisited in the following way:
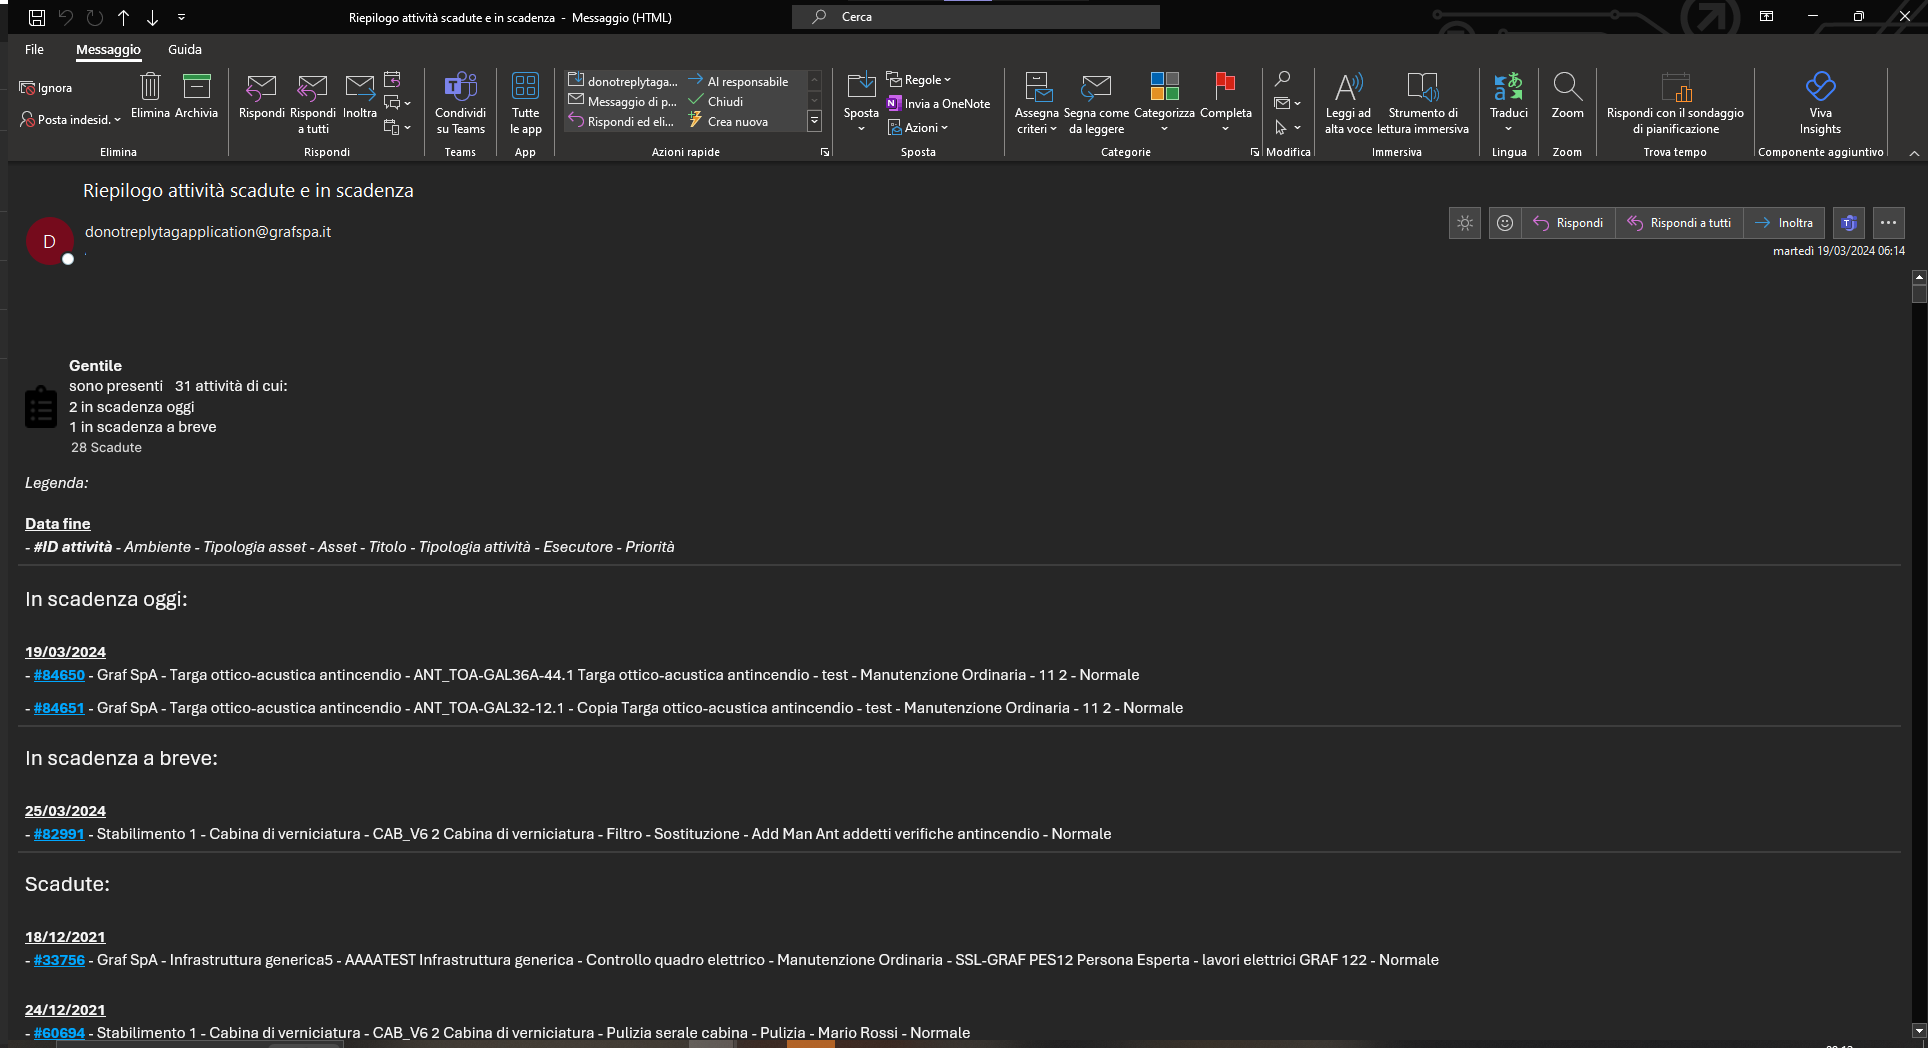
At first you will find a brief summary of how many tasks are reported in the email, of which precisely how many expiring today, expiring soon and expired.
Then, immediately below, there will be a legend to guide the user in reading: the activities will be grouped by end date (underlined and in bold) and reported with the following data in this precise order: Code, Environment, Asset Type, Title, Activity Type, Executor and Priority.
Finally, there will obviously be all the assets expiring today, expiring soon and expired as shown in the legend.
(fig 5.0)
App – Featured helpdesk phone number
Do you have any doubts or concerns about the use of the system? Do you need further information on any topic concerning TAG Application? For any reason you cannot access the application?
No problem… the TAG Application Team is always happy to accept any doubts, needs or requests for support.
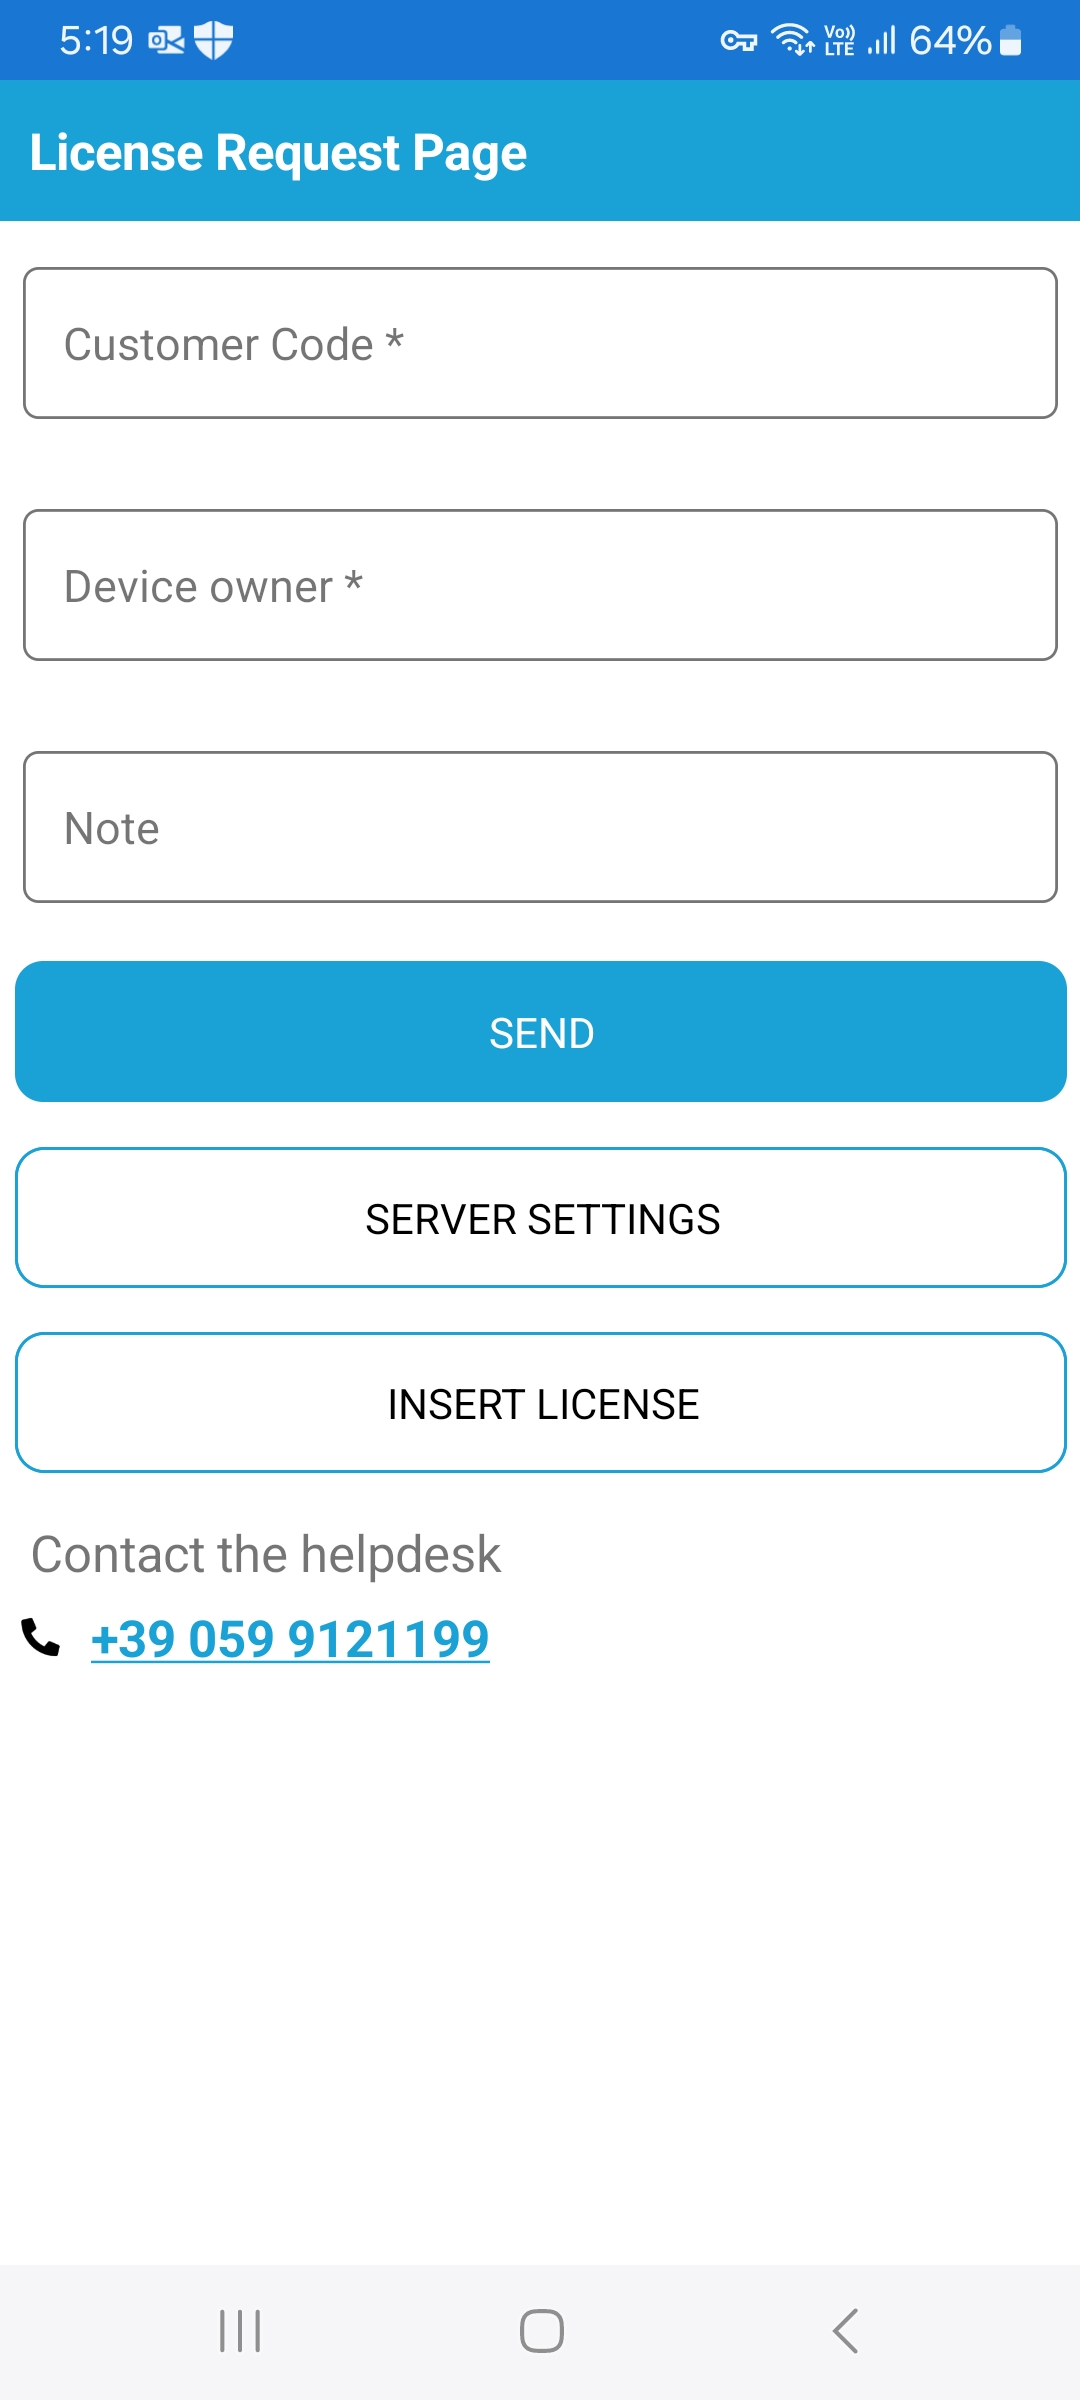
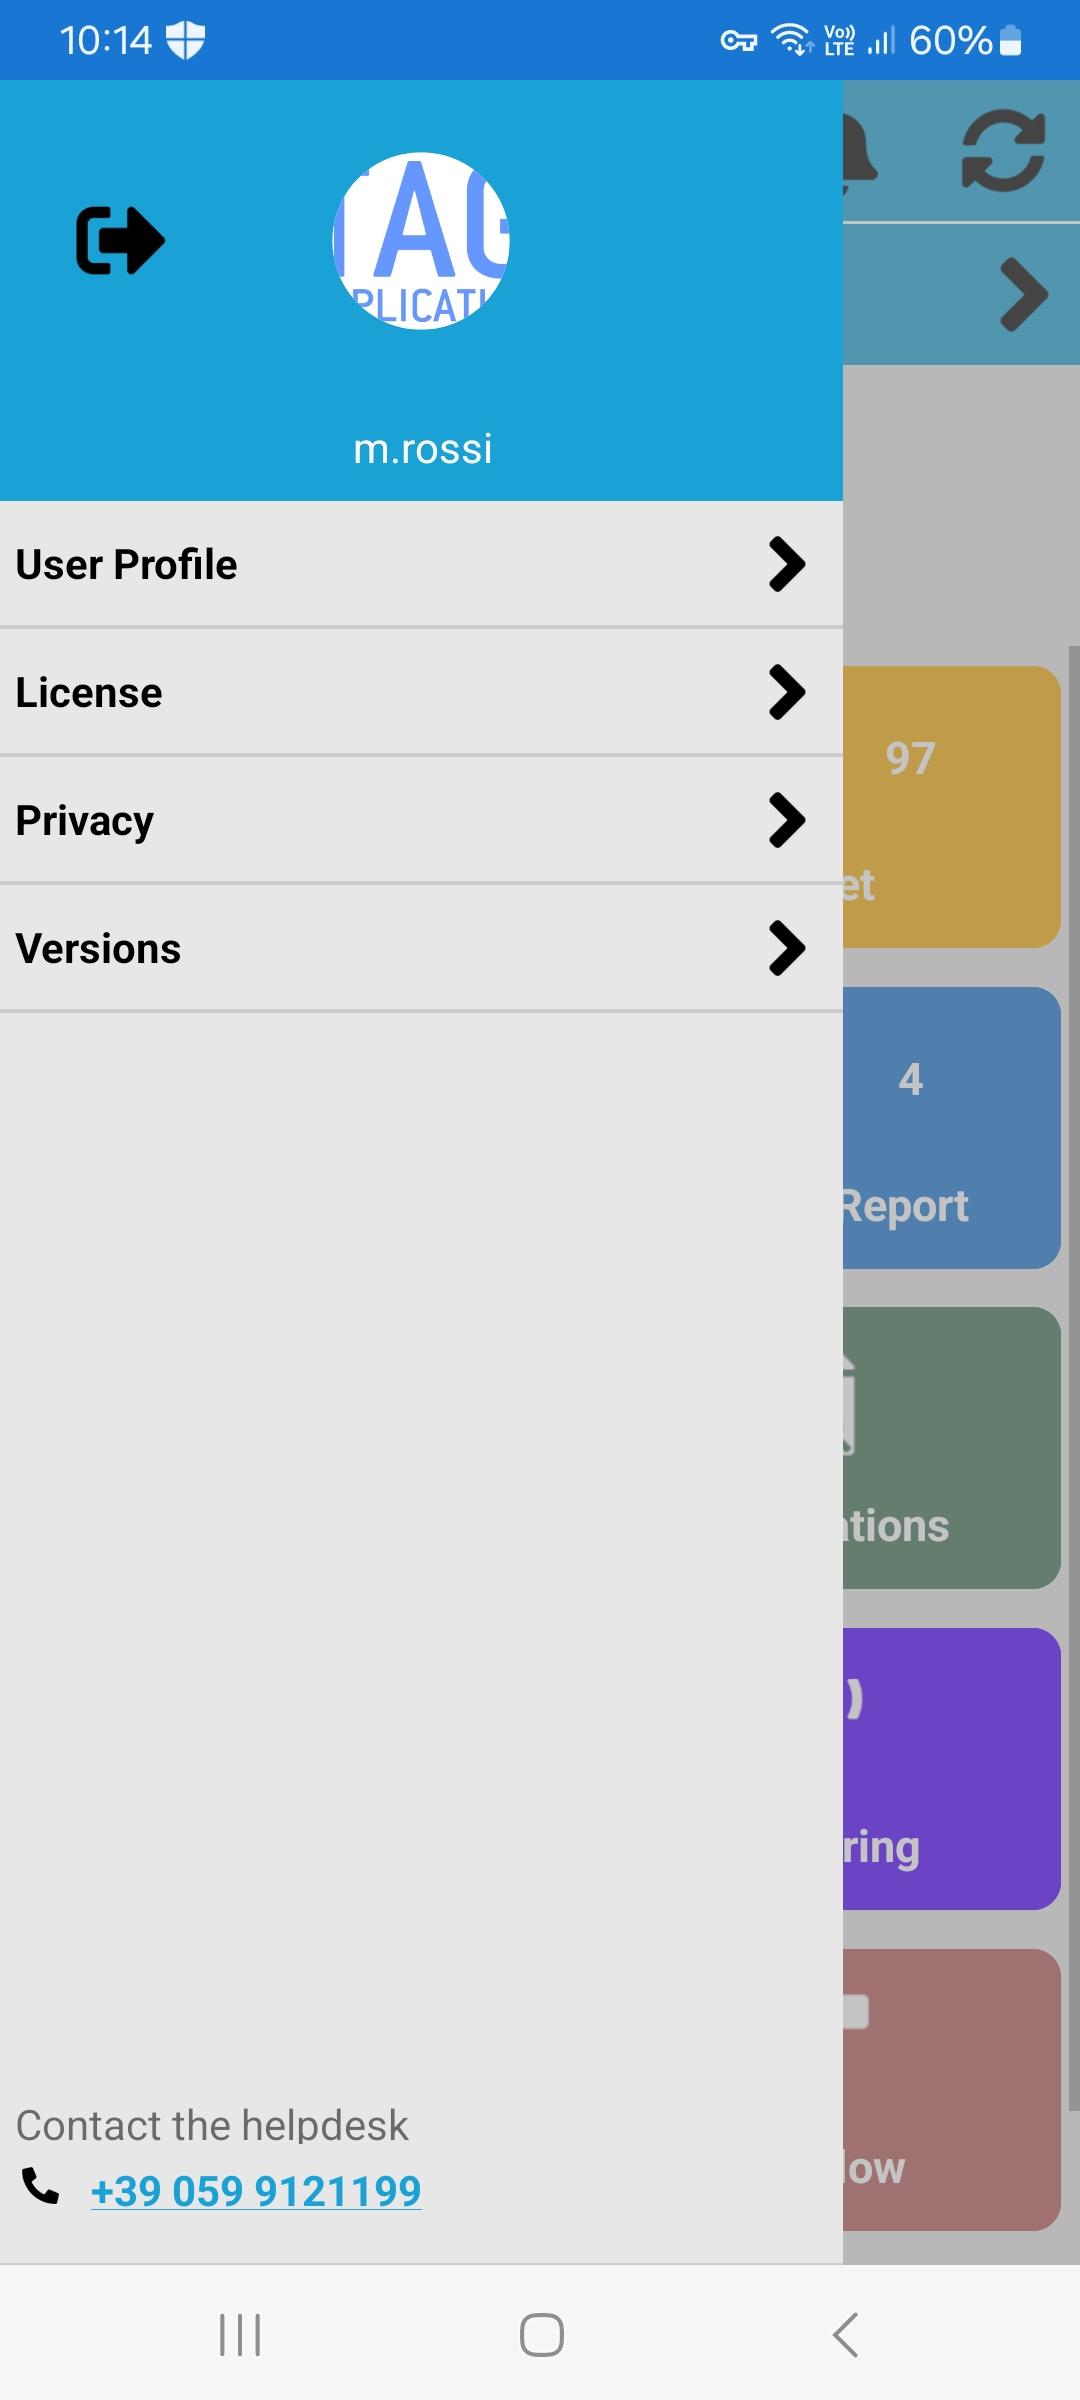
The helpdesk operators can be reached (from 8:30 to 13:15 and from 14:15 to 17:30) at the dedicated number +39 059 9121199.
In order to make it easier and faster to call, the above number has always been highlighted in the application.
Clicking on the appropriate link, always highlighted during the license request, login or in the dedicated left menu once logged in, will start a call to the TAG Application helpdesk and an operator will respond in the shortest possible time.
(fig 6.0 – 6.1)

Report – New preview
Generating reports from smartphones has always been one of the strengths of TAG Application… doing it effectively and efficiently is even more so!
Just to enhance the user experience, guide him in every step and make him more involved and aware of the operations he is doing, from this version of the application will be available the new report preview.
Thanks to this new feature you will benefit from a dual advantage: user side of the app, that is the one who is generating the report, you will finally be able to always have under control what you are reporting in a convenient section.
Customer side, instead, that is the one who usually signs the report, you will be able to check in a few seconds if what you are signing and validating is actually true.
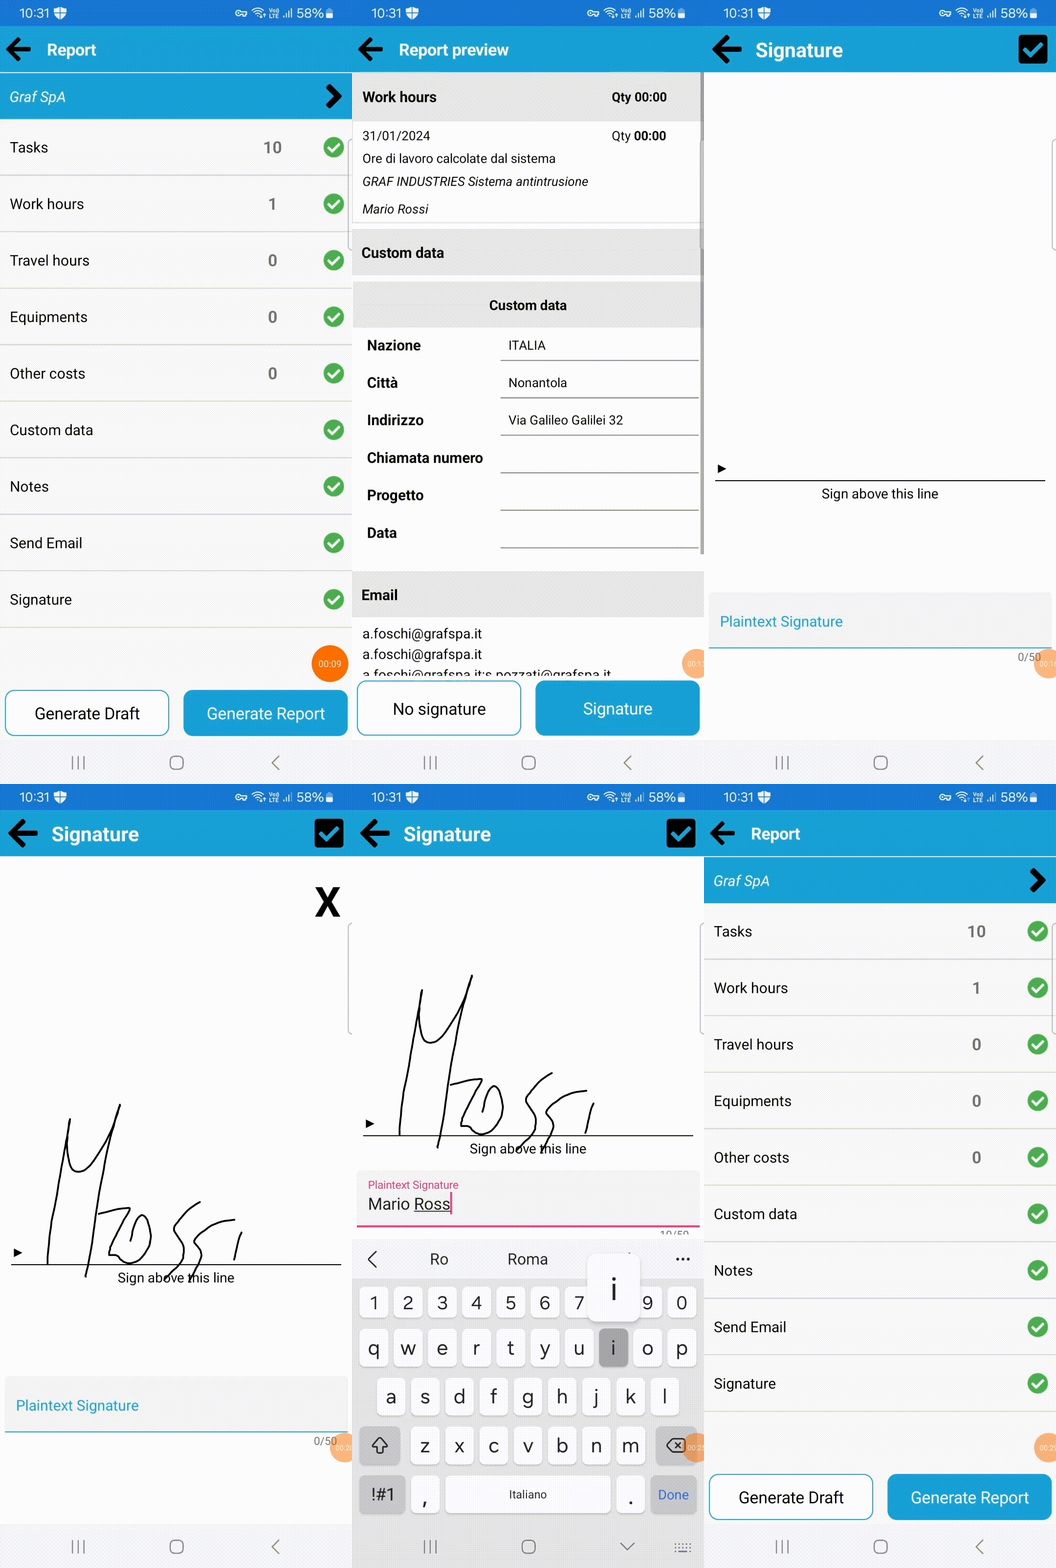
By accessing the module dedicated precisely to reports, in creation or modification that is, opening the section “Signature” will always be present a preview consisting of what has been filled up to that time. Within the preview the following sections will appear only if you fill in the previous steps:
– Working hours*: here you will see all the working hours you are reporting, including the date, quantity, description and title of the assets and assets to which the cost refers.
– Travel hours*: Here you will see all the travel hours that you are reporting including the date, quantity, description and possibly kilometres entered and the activity title to which the cost refers.
– Materials*: here you will see all the materials that you are reporting including date, quantity, description and possibly item code and activity title to which the cost refers.
– Other costs*: here you will see all the costs that you are reporting including date, quantity, description, operator and possibly activity title to which the cost refers.
– Personalised data: Here you will see all the personalised data that may have been compiled and grouped accordingly.
– Notes: Here you will see any notes included in the report.
– Mail: Here you will see the email addresses, specified in the appropriate section, to which the report will be sent.
*All cost sections, in addition to presenting a quantity per line, will also be complete with a general summation in the upper right.
Once the correctness and truthfulness of the information entered in the report through the preview, from the same section, you can choose whether to insert a signature or not through the convenient buttons “Signature” and “No signature” placed below.
(fig 7.0)